- Articles
- How to use code tags
Mar 30, 2013 (last update: Mar 30, 2013)
How to use code tags
Score: 4.2/5 (171 votes)
This article describes how to use code tags in posts on forums of this site.
Code tags color code and add line numbers just like modern IDEs do.
This article is also for users who are fed up of people asking for help without showing their code in code tags. Just paste a link to this article as reply. I haven't included details like altering line numbers or showing output with the code to make it simple for beginners. If you want to know details, click here.
After writing out your problem, you should use the preview button to see how your post looks. You would get this:
This post has not used code tags and looks unpleasant to the eyes.
To use code tags select your post and press the format code button:

This will cause [code]...[/code] to appear automatically around your code.

You could also have manually typed [code][/code] around your code. It's the same thing.
Now clicking on the preview button, we find that the output looks like this:
Mission accomplished.
If you have already posted without code tags, you can click on the button on your post and edit your post.

Code tags color code and add line numbers just like modern IDEs do.
|
|
Intended audience:
This article is mainly for users who are new to this site and don't know about the 'code tag' feature of this site. New users are advised to read the full article and not just a part of it.This article is also for users who are fed up of people asking for help without showing their code in code tags. Just paste a link to this article as reply. I haven't included details like altering line numbers or showing output with the code to make it simple for beginners. If you want to know details, click here.
How to use code tags?
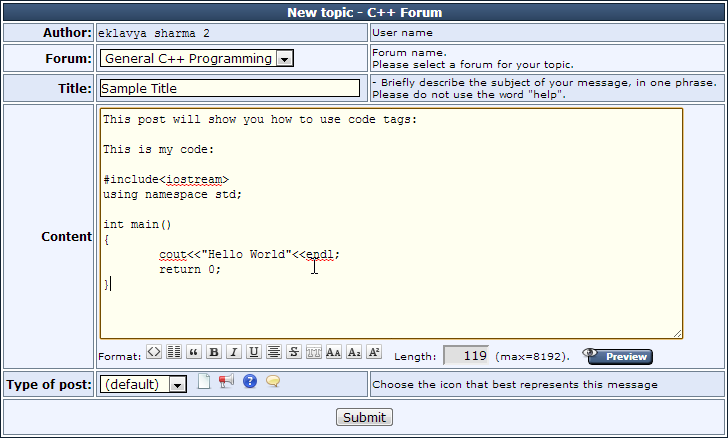
Let me explain this with an example. Suppose you are posting on this forum. You would see something like this
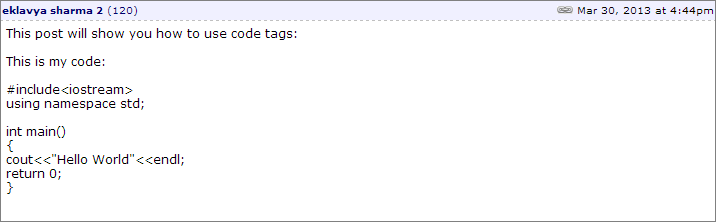
After writing out your problem, you should use the preview button to see how your post looks. You would get this:
This post has not used code tags and looks unpleasant to the eyes.
To use code tags select your post and press the format code button:
This will cause [code]...[/code] to appear automatically around your code.
You could also have manually typed [code][/code] around your code. It's the same thing.
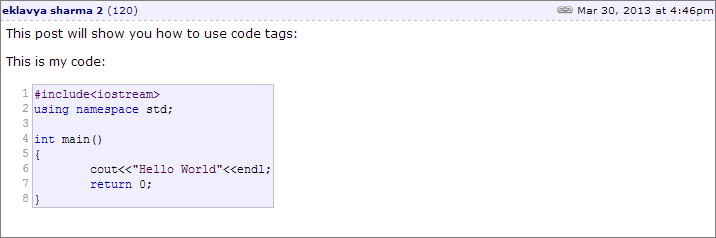
Now clicking on the preview button, we find that the output looks like this:
Mission accomplished.
If you have already posted without code tags, you can click on the
button on your post and edit your post.